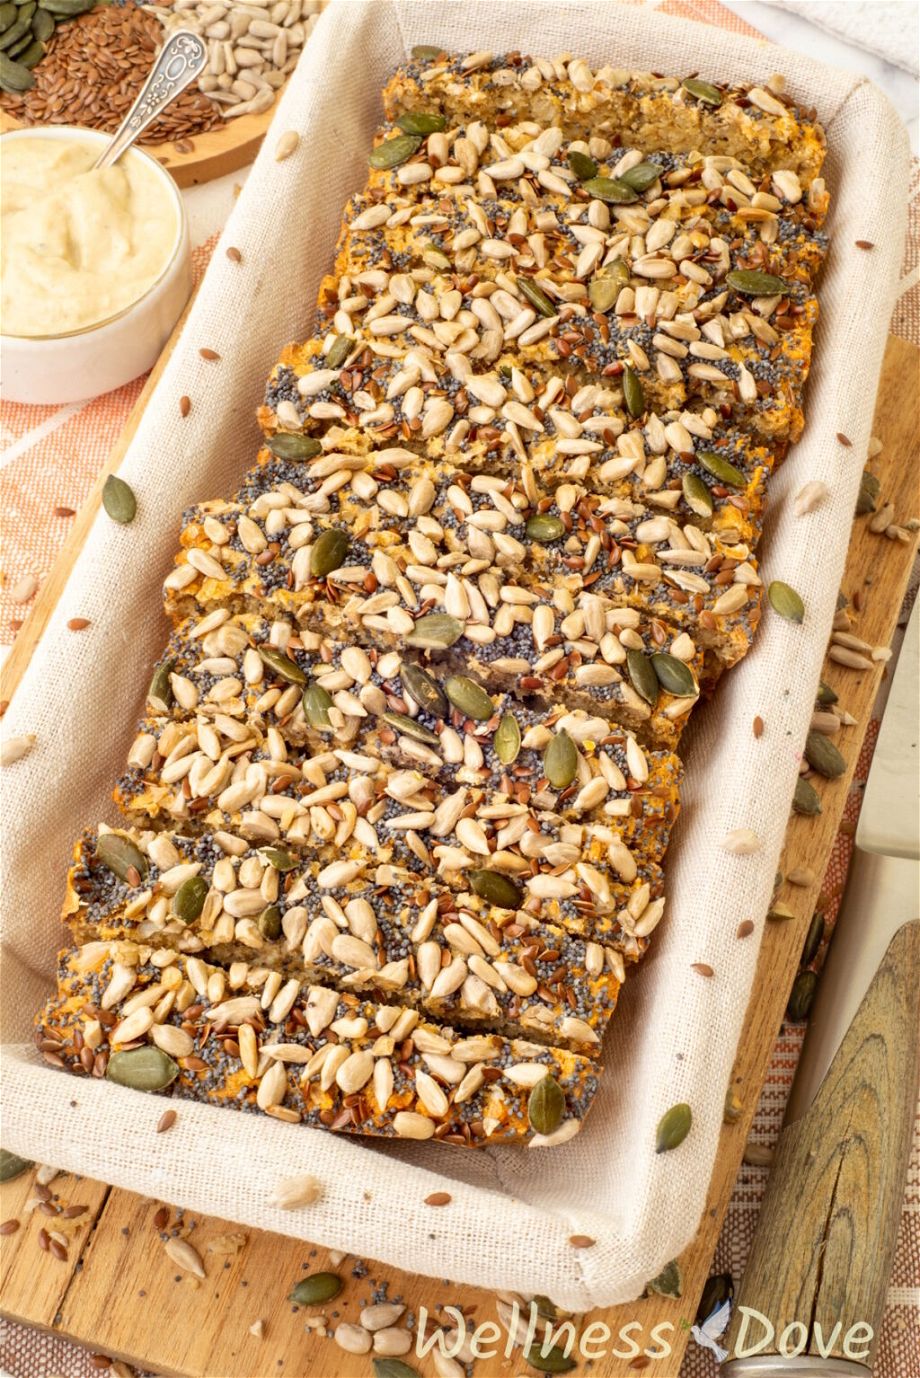
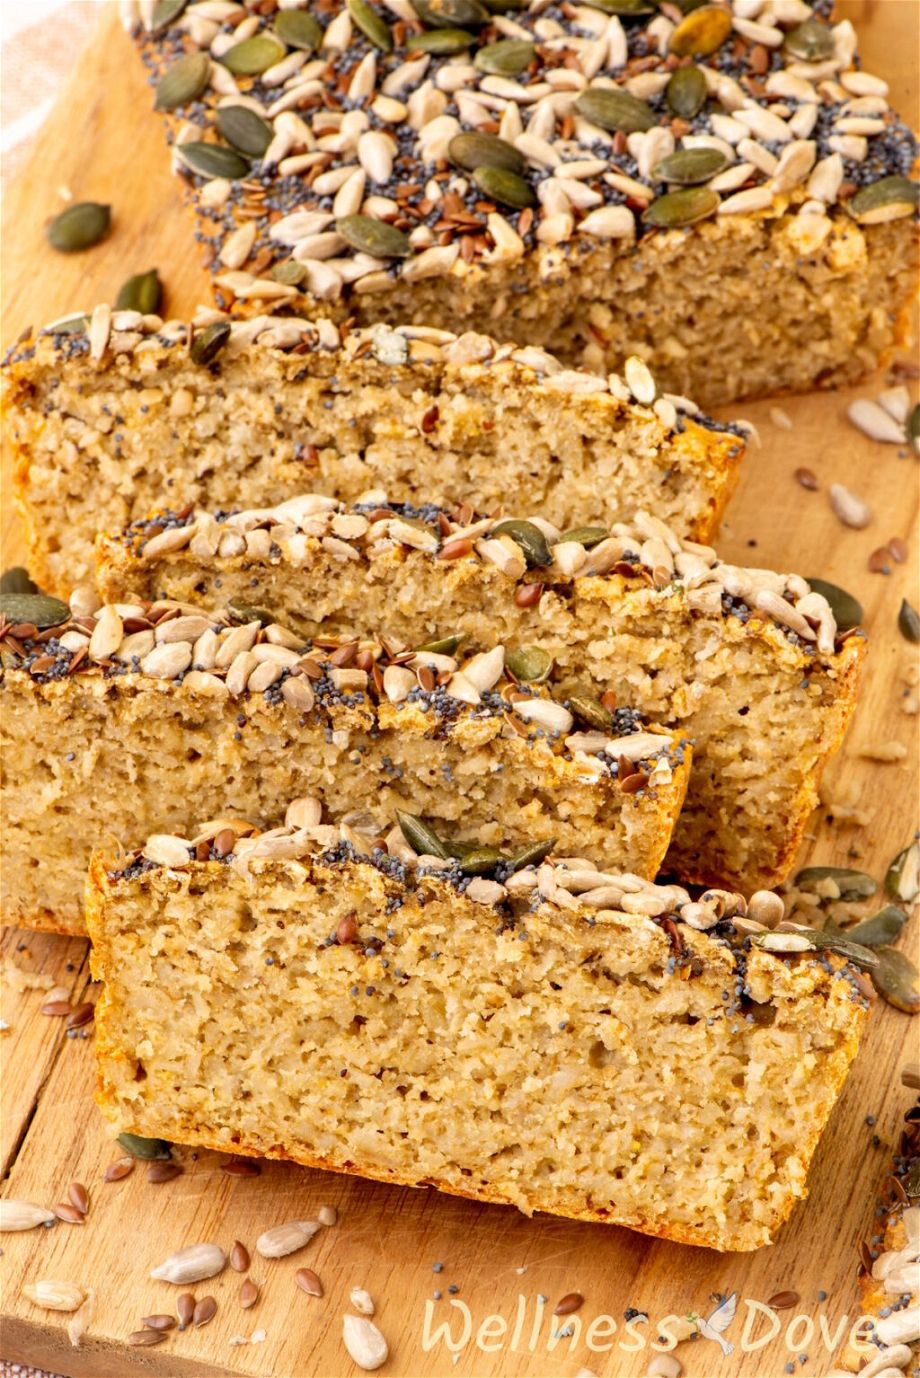
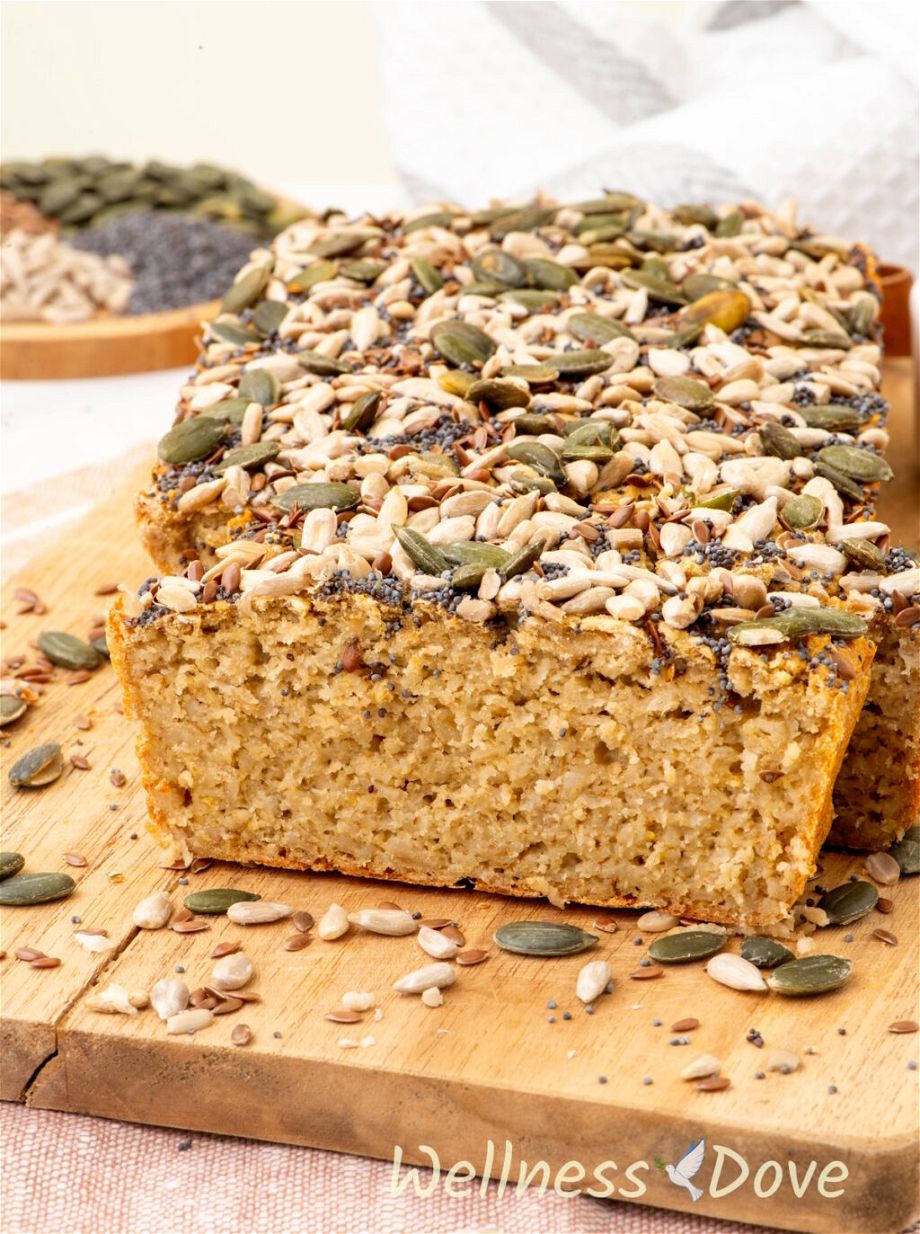
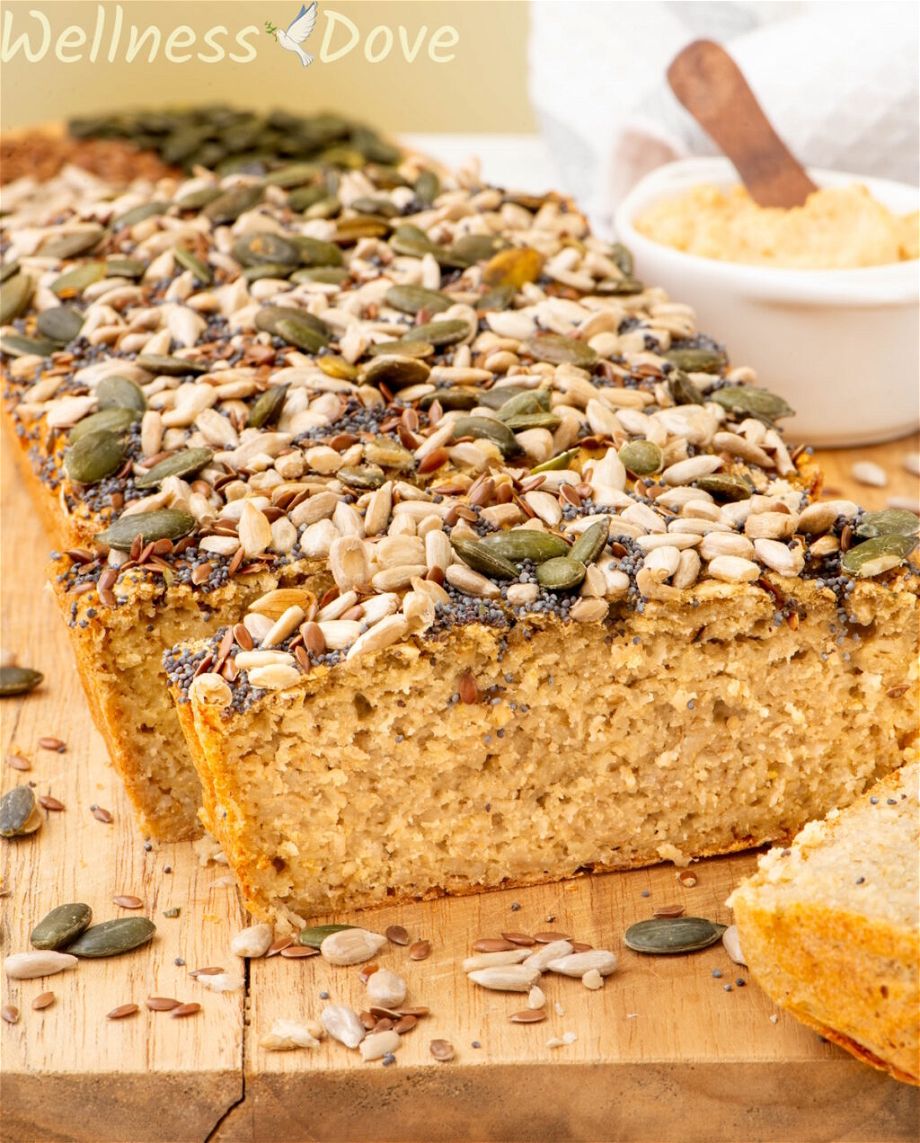
This easy gluten-free flourless quinoa bread recipe calls for just 4 basic ingredients. It has a soft, moist, and flavorful texture while being rich in protein, making it the perfect choice for sandwiches or toasting. Plus, it’s a hassle-free, yeast-free, and healthy gluten-free bread option!
Post Contents
Recipe Highlights
- Dietary – vegan, whole food, oil-free, gluten-free, nut-free, yeast-free
- Easy no knead bread
- No yeast bread recipe
- A healthy gluten-free bread option
- Only 4 simple ingredients
- Healthy & oil-free
- High in protein and fiber
- Flourless bread recipe
- Soft and moist
- Delicious and filling
Ingredient Note
This quinoa bread is abundant in protein, completely gluten-free and dairy-free! It’s crafted from a hearty blend of quinoa and oats.
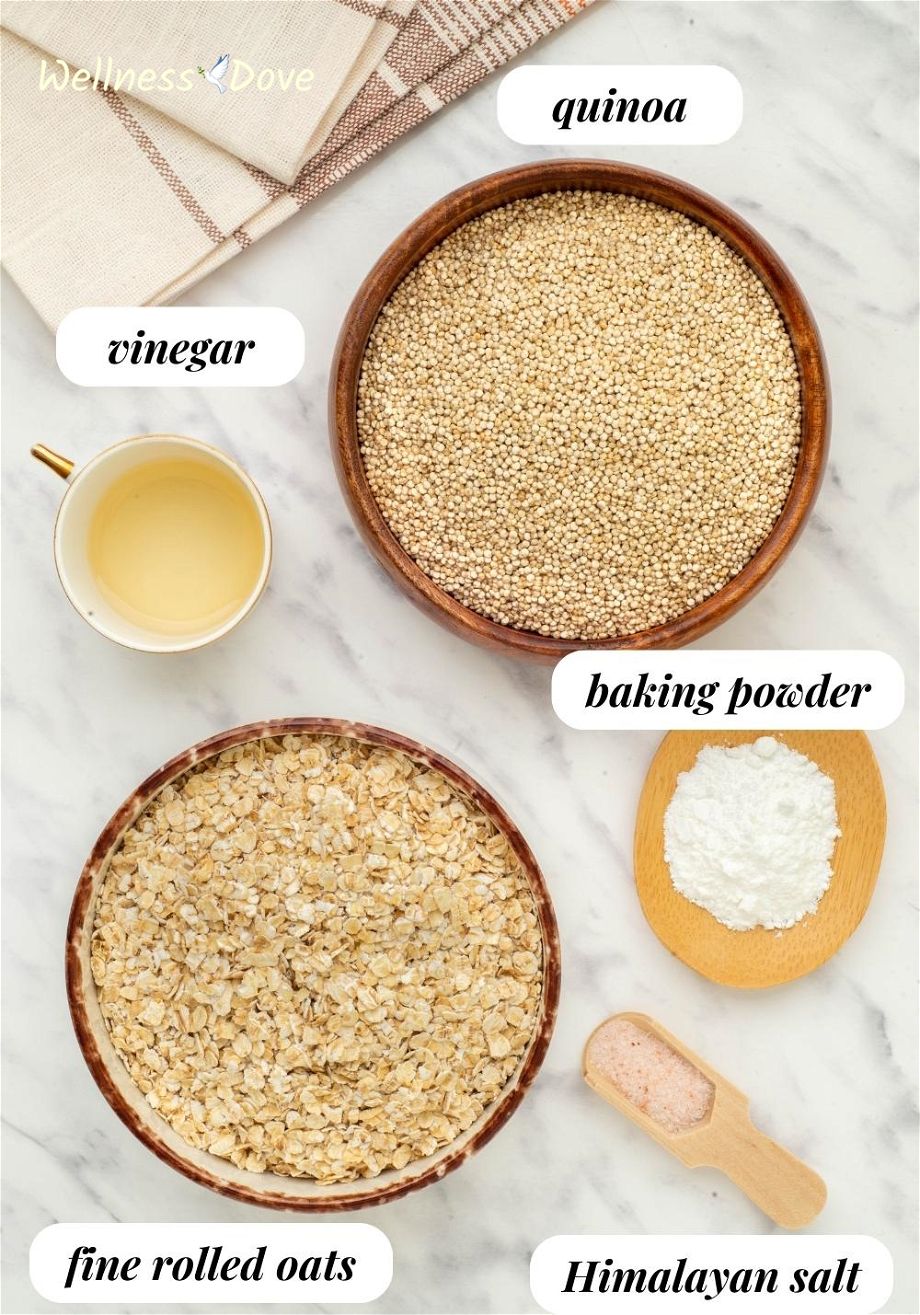
Here’s everything you’ll need:
- quinoa – I used white quinoa, it has a better color for this bread recipe. It is gluten-free, full of nutrition and fiber.
- fine rolled oats – I used fine rolled oats, use gluten-free certified if necessary
- baking powder – a baking ingredient, works as a rising agent
- apple cider vinegar – reacts with the baking powder and helps the rising of the bread
- salt – I used Himalayan salt to enhance the flavor
For the full ingredients list, measurements, and instructions, please find the recipe card below.
How to Make Quinoa Bread
Step 1: Soak the quinoa – Soak quinoa overnight in a medium bowl with plenty of water. Then, rinse and drain well.
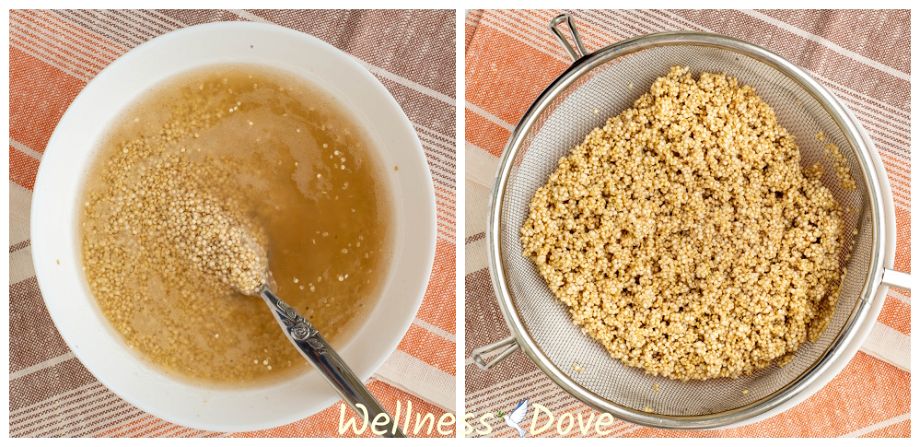
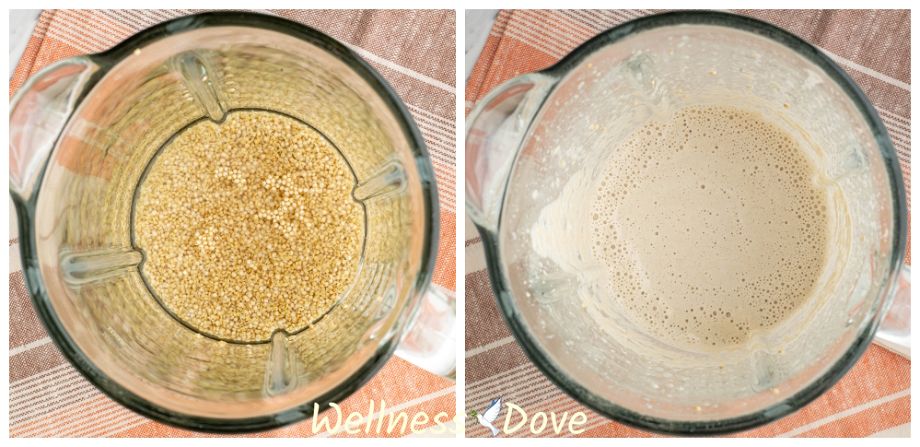
Step 2: Blend quinoa and water – Put the drained quinoa and one cup of water in a blender. Blend until smooth.
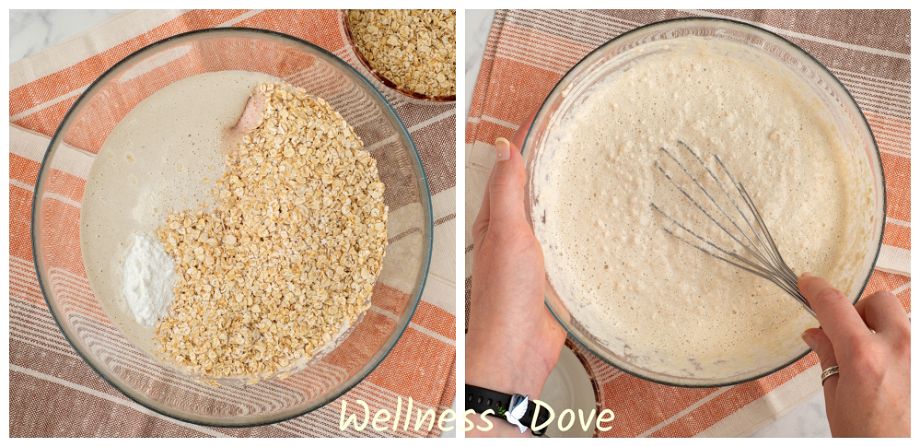
Step 3: Mix everything together – Transfer the quinoa mixture into a large bowl. Add all the other ingredients (oats, baking powder, vinegar, and salt). Whisk until everything is well combined. Let it sit for about 5 minutes.
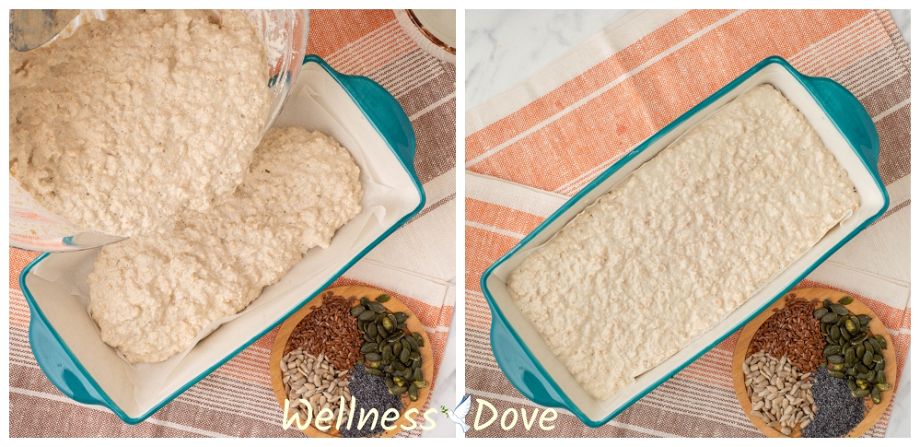
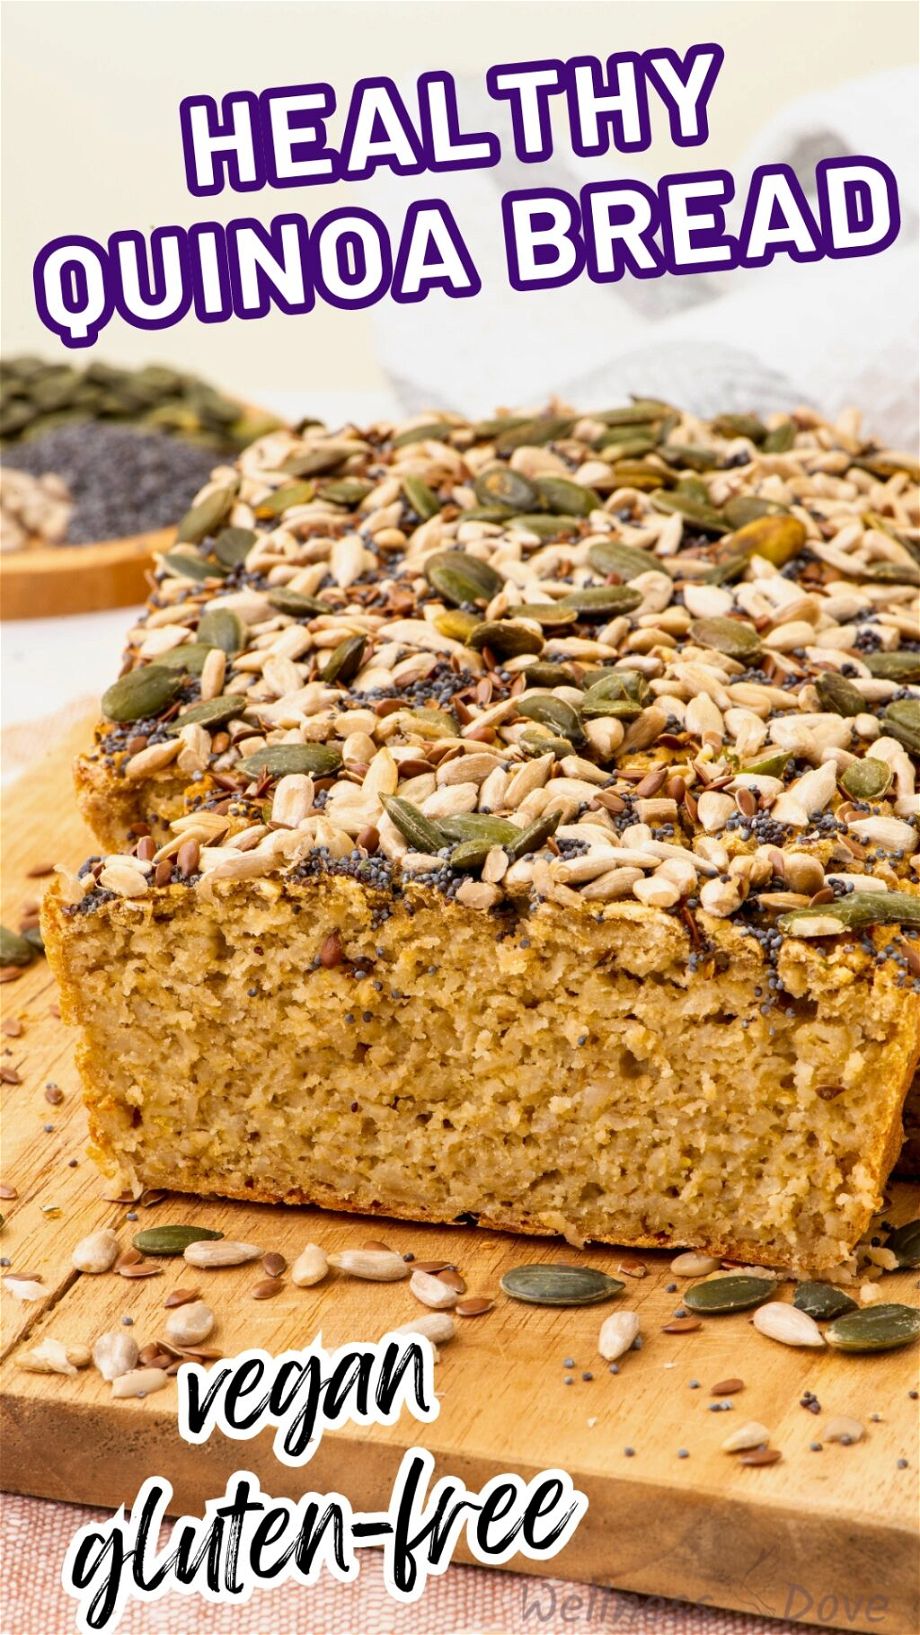
Step 4: Bake the quinoa bread– Put the bread mixture in the baking pan. Smooth the surface. Sprinkle some sunflower seeds, flax seeds, poppy seeds, and pumpkin seeds on top. Bake for about 1 hour.
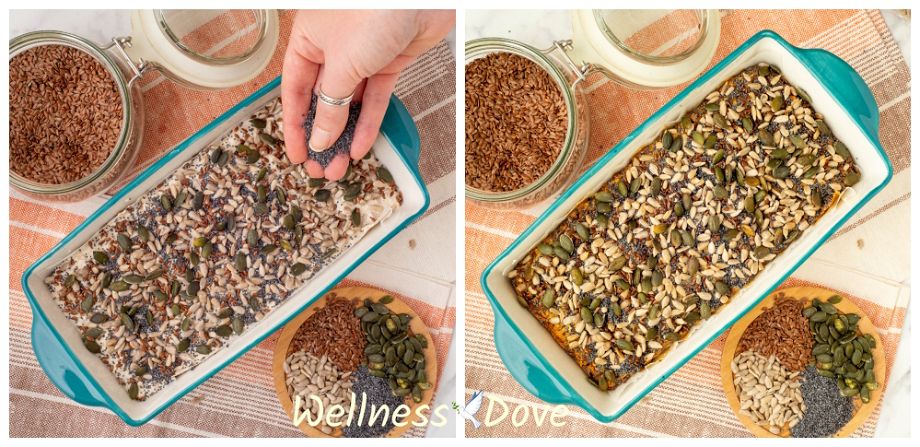
Let the bread cool slightly before slicing it. You can put it on a cooling rack and enjoy!
Top Tips
- Add more flavor to the bread – you can add your favorite fresh or dried herbs, like thyme, basil, sage, Italian seasoning, etc., spices – onion or garlic powder, sun-dried tomatoes, or thinly chopped olives.
- Gluten-free option – use certified gluten-free oats if necessary.
- Allow to cool completely – transfer the bread to a cooling rack and let it rest for at least 15 minutes before slicing.
How to Store
Let cool completely before storing.
Room temperature: Let cool, then store at room temperature covered for 3 days.
I don’t recommend storing it in the fridge since this vegan quinoa bread may become a bit moister. To dry it out, just toast it as needed.
Freezer: This vegan quinoa bread is absolutely freezer-friendly. You can freeze the whole loaf or freeze it in slices in a freezer bag or container for up to 3 months. Let thaw at room temperature, then toast the bread before serving.
How to Serve
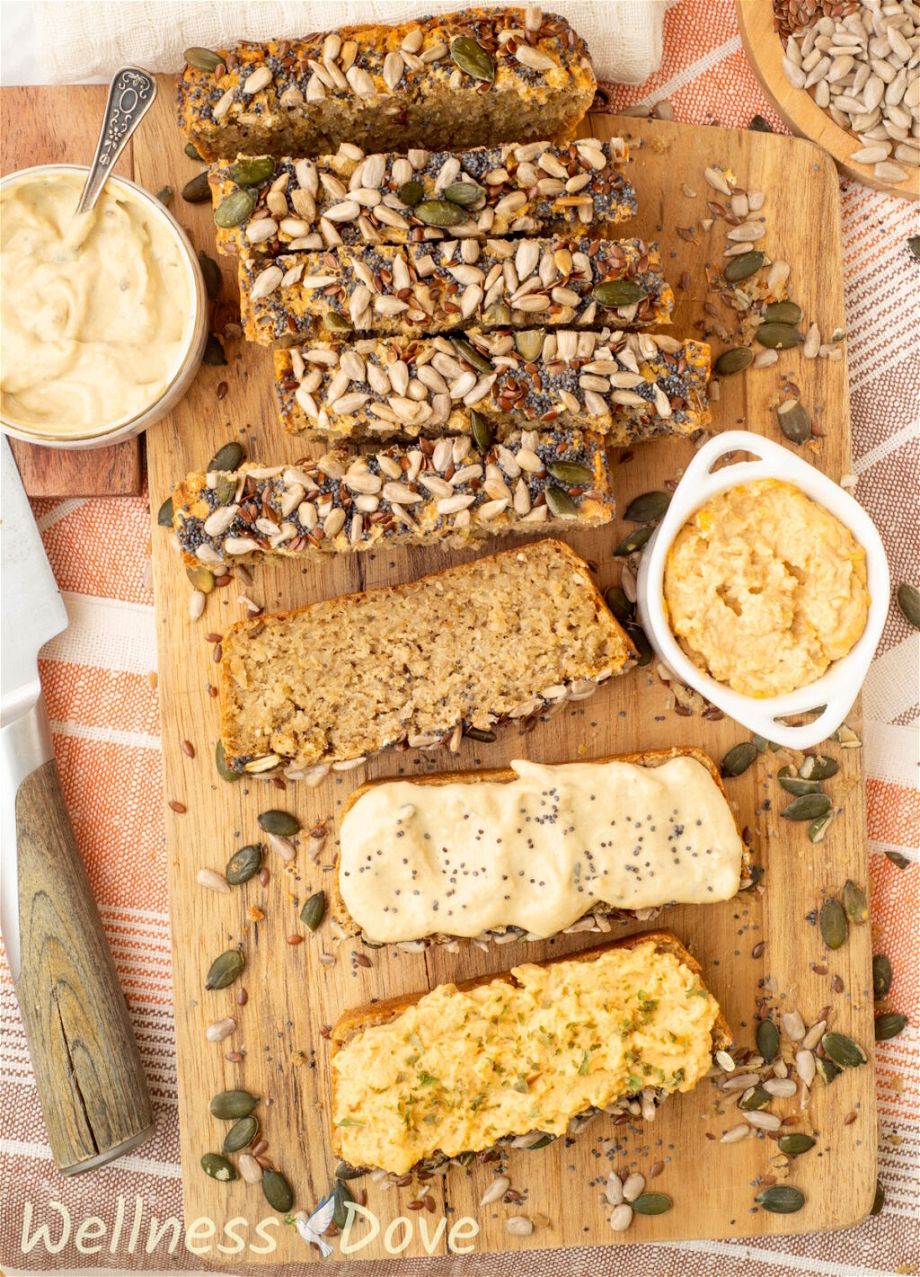
- Make a toast – sweet or savory it’s your choice. Maybe top it with avocado slices or almond butter and banana.
- Enjoy with a dip – like this homemade guacamole, healthy zucchini and walnut dip, or this 10-minute bean dip
- Serve alongside soups and stews – like this Cauliflower Soup, Broccoli Red Lentil Soup, or Coconut Lentil Curry.
More Vegan Bread Recipes
If you try this Easy No Yeast Quinoa Bread, please let me know! Leave a comment and ★★★★★ recipe rating below. I would love to see your remakes and hear what you think.
Easy No Yeast Quinoa Bread
INGREDIENTS
Ingredients
- 1 cup (170 g) quinoa, soaked overnight
- 1 cup (240 ml) water
- 1½ cup (145 g) quick rolled oats
- 2 tsp baking powder
- 1 tbsp apple cider vinegar
- ⅔ tsp Himalayan salt
Instructions
- Soak quinoa overnight in a medium bowl with plenty of water. Then, rinse and drain well.
- Preheat the oven to 350°F (180°C) and line a baking pan with parchment paper. My loaf pan measures about 20 x 9 cm/8" x 3.5".
- Put the drained quinoa and 1 cup of water in a blender. Blend until smooth.
- Transfer the quinoa mixture into a large bowl. Add all the other ingredients (oats, baking powder, vinegar, and salt). Whisk until everything is well combined. Let it sit for about 5 mins.
- Put the batter into the baking pan. Smooth the surface. Sprinkle mixed seeds on top to decorate, if desired. Like sunflower seeds, flax seeds, poppy seeds, and pumpkin seeds.
- Bake for about 1 hour. Transfer to a cooling rack and let the bread cool slightly before slicing it. Enjoy!
Notes
- Feel free to enhance the bread's flavor by adding various herbs and spices, such as onion powder, basil, sage, oregano, rosemary, and more.
- Gluten-free option: use certified gluten-free oats if necessary.
Nutrition
IF YOU ARE USING PINTEREST, FEEL FREE TO PIN THIS PHOTO:



Hi,
Do you soak the quinoa overnight in the fridge or on the counter?
Thanks
Could I use oat flour? Alternatively, I only have steel cut oats. Could I powder that a little and use?
Thank you.
Hi there,
Thank you for reaching out! Yes, you can absolutely use oat flour as a substitute—it works well in place of quick oats for this recipe. Just use the same weight (145 grams) of oat flour, and you should get a similar texture and consistency.
If you’d like to use steel-cut oats, they can work too, but they’re a bit different in texture. I recommend giving them a quick blend to make them finer, closer to a flour consistency. However, the bread may have a slightly different texture with steel-cut oats, as they don’t absorb liquid the same way as rolled oats or oat flour.
Hope this helps! Let us know how it goes—we’d love to hear about your results! 😊
Warmly,
Venny
Hi can I use rice or chickpea flour instead of oat?
I wanted to know the same thing, oats upset my tummy, can I use rice flour, almond flour, millet, flaxseed ground or coconut flour instead of oats?
Thanks Venetian, have a lovely weekend 😊
Sorry my auto text kicked in Venelina
I’ve made it three times now and it is delicious. I can’t have oil, following Esselstyn’s diet so this is wonderful. thank you!
Hi there,
Thank you so much for sharing this with us! We’re thrilled to hear you’re enjoying the recipe, and it’s wonderful to know it aligns with the Esselstyn diet. Creating oil-free, delicious recipes that work for everyone’s needs is so important to us, so it means a lot to hear this from you.
Thank you again for your kind words, and happy baking! 😊
Venny
My bread did not rise much. What could be the reason? I followed the exact recipe. I used a glass dish to bake. Anything to do with that? Would appreciate your comment. Really loved the simplicity of this & other bread recipes.
Hi Manisha,
I’m sorry to hear that your bread didn’t rise much. Since this recipe doesn’t use yeast and contains no gluten, the rise is more subtle compared to traditional breads. However, you can ensure your leavening agent – baking powder is fresh and active. Expired or old leavening agents can result in less rise. Also, overmixing the batter can sometimes cause a denser texture. Try mixing until just combined. Using a glass dish can sometimes affect how evenly the bread bakes since glass dishes can retain heat differently but I don’t think this is the reason. Just keep in mind that this quinoa bread doesn’t rise much. As long as it’s properly baked and not moist or dense inside, it should be alright.
Can I use rolled oats, partially ground?
Hi Lena,
yes, you can use rolled oats that are partially ground. Just pulse them a few times in the food processor until they reach the desired consistency similar to quick oats.
Can you use regular rolled oats whirled lightly in the processor?
Hi Cat,
yes, you can use regular rolled oats lightly processed in a food processor. Just pulse them a few times until they reach a consistency similar to quick oats. This should work well in the recipe.
Hi, what’s quick oats- are they precooked or ground up?
Hi Lilly,
quick oats are pre-steamed and then rolled out to make them cook faster than traditional oats. They’re not ground up like oat flour; instead, they still retain some of their texture. You can easily find them in most grocery stores, and they work well in recipes where a quicker cooking time is desired. If you have any more questions or need further clarification, feel free to ask!
Hi, what type of setting we have to choose for a electric oven? baking or fan bake?
Hi Mona,
for this recipe, you’ll want to use the baking setting on your electric oven. The standard baking setting should work well for this bread, ensuring even cooking throughout.
I follow the recipe and this bread is great. It is only thinner as I have longer pan. I’ll try to freeze it so to have it always fresh. Thank you for the recipe.
Hey Gordana,
I’m thrilled to hear that the bread turned out great for you! Freezing slices for future use is a fantastic way to ensure you always have fresh bread on hand. Thank you for trying the recipe and for sharing your experience.